Background
During the last studio you should have configured the Photon to control an RGB LED. Today we will extend this work to include the use of Particle’s Cloud-based services.
Objectives
The objectives of today’s Studio are:
- Review some IoT communication patterns (calling functions from the cloud and monitoring device variables),
- Work with Particle’s cloud API, and
- Continue to refine the behavior of the hardware for our RGB light.
1. Studio Setup
1.1. Find a Group & Get Roll Assignments
Please take your role seriously. When you get your role, review the responsibilities and make sure you follow through on them.
Role Reminders
- Common Roles
- Participate in discussion and work
- Review & revise the final report for the studio
- Manager
- GitHub: Create group (following the naming convention) & Verify that everyone else joins it
- Time management: Ensure the group is making progress, is on-task, and asks for help when stuck
- Human Resources: Ensures civil conduct of all members
- Submission management: Ensure the group completes and submits all parts of the studio on-time
- Hardware / Wiring Review: Review any circuitry for safe operation
- Recorder
- Record who will be taking on each role (complete
process/Roles.md) - Compose answers to questions in
README.md - Record details of the studio session (complete
process/SessionNotes.md):- Notes on the session (what was said, order of work, etc.)
- Summarize important findings or techniques
- Summarize outstanding questions or issues
- Record who will be taking on each role (complete
- Spokesperson
- Enter the group’s answers for the questions in
process/Debrief.md - Report out the results of the Studio at checkout
- Coordinate and schedule out-of-class meetings if necessary.
- Organize parts for circuits
- Enter the group’s answers for the questions in
- Technician
- Create project code
- Assemble any circuits
- Enter/modify code
Special Circumstances: Groups of three
Groups of three will be allowed if:
- You plan to work with someone who is absent and all members of the group agree to work as a group of three for this studio.
- There aren’t enough people present to form groups of four.
In groups of three the Manager must also take on the responsibilities of the Spokesperson.
1.2. Studio Distribution
As in the previous studios, all group members will need to be in a GitHub group (and repository)
- The group’s Manager should create the repository. The GitHub group name should include the surnames of all group members.
- All other members should join the group.
The link for this studio is: https://classroom.github.com/g/iA-K169k
Today the Recorder, Technician, and the Spokesperson will want to be able to work with the repository (i.e., it should be on at least two computers). The Technician will be working with the Photon (C++).
1.3. Recorder
The Recorder should update process/Roles.md to record everyone’s roles for this studio (use full names). In addition, the Recorder should take notes about the interaction of the overall session. Be sure to pull/merge/commit/push at the end of the day!
1.4. Spokesperson
Today you will be doing the bulk of recording answers to questions. Read the questions in process/Debrief.md to the group and the group should come to a consensus for each. Be sure to enter the responses. Be sure to pull/merge/commit/push at the end of the day!
1.5. Technician
The Technician will be programming the Photon and using the cloud functions. Consequently their computer will need to be logged into the account for the Photon being used for testing. (Particle Desktop will need to be logged in)
You will be managing the code for today’s studio. Download the repository, but don’t open it in Particle Dev. Instead open Particle Dev, close any open windows/projects. Create each mini-project listed below in the designated folder within the repository directory. Be sure to pull/merge/commit/push at the end of the day!
2. Studio: Hardware Setup: LEDs, buttons, concepts, and code
- Hardware: Your RGB LED and a button should both be connected to your Photon.
- Concepts: You should understand basic details of button bounce and timers.
- Code: You should have completed the
rgbFade()from last studio. It will be needed at the end of this studio.
2.1. Basic Lamp: Hardware only
The Technician should create a new sketch named cloudConnectedLamp in your repo folder.
Create a sketch that:
- Uses normal variables (not Particle’s cloud variables) to keep track of the current color. Make the default be the RGB tuple (255,255,255). (I.e., bright white)
- Uses a normal
booleanvariable to keep track of whether the light is on/off. The light should be on initially. - Create a function named
setLampPower(boolean value). When called withtruethe light should turn on to the current color. When called withfalsethe lamp should turn off. This function should have no impact on the current color, which is only relevant when the light is on. - Configure the button to toggle the light’s on/off status. You will want to debounce the button using whatever technique is easiest. It would be best to call
setLampPower()to test that it works as expected.
Test your work before proceeding.
2.2 Particle functions
Review the documentation on Particle’s “Particle Functions” as a group.
A well defined “type signature” is often used to ensure that APIs can call functions (especially callbacks). Review the concept of a “type signature” with your group.
Complete README.md Q1.1-1.2
Update your setLampPower() so that it matches the signature required for Photon functions and returns the lamp’s on/off state value to the caller. Be sure that the boolean variable you defined earlier is always consistent with the state of the lamp. The Photon will handle strings in a somewhat intuitive way (i.e., comparisons with == work as expected in most cases), but it may be helpful to review the String Class.
Test your work before proceeding (perhaps use the switch described in Studio: Embedded 2 ).
Now update your setup() to actually use setLampPower() as a Particle function. Reprogram your device.
Use the Particle menu in Particle Dev and select Show cloud functions. You may have to try this twice or wait until the device has reconnected for a few seconds, but it should show the name of the function you’ve just configured and allow you to call it. The new pane should look something like the one below:

Test your work (Note: The arguments must be strings, so there’s no need to include quotes in the data entered in Particle Dev). Enter a parameter and click the button to the left of the function name.
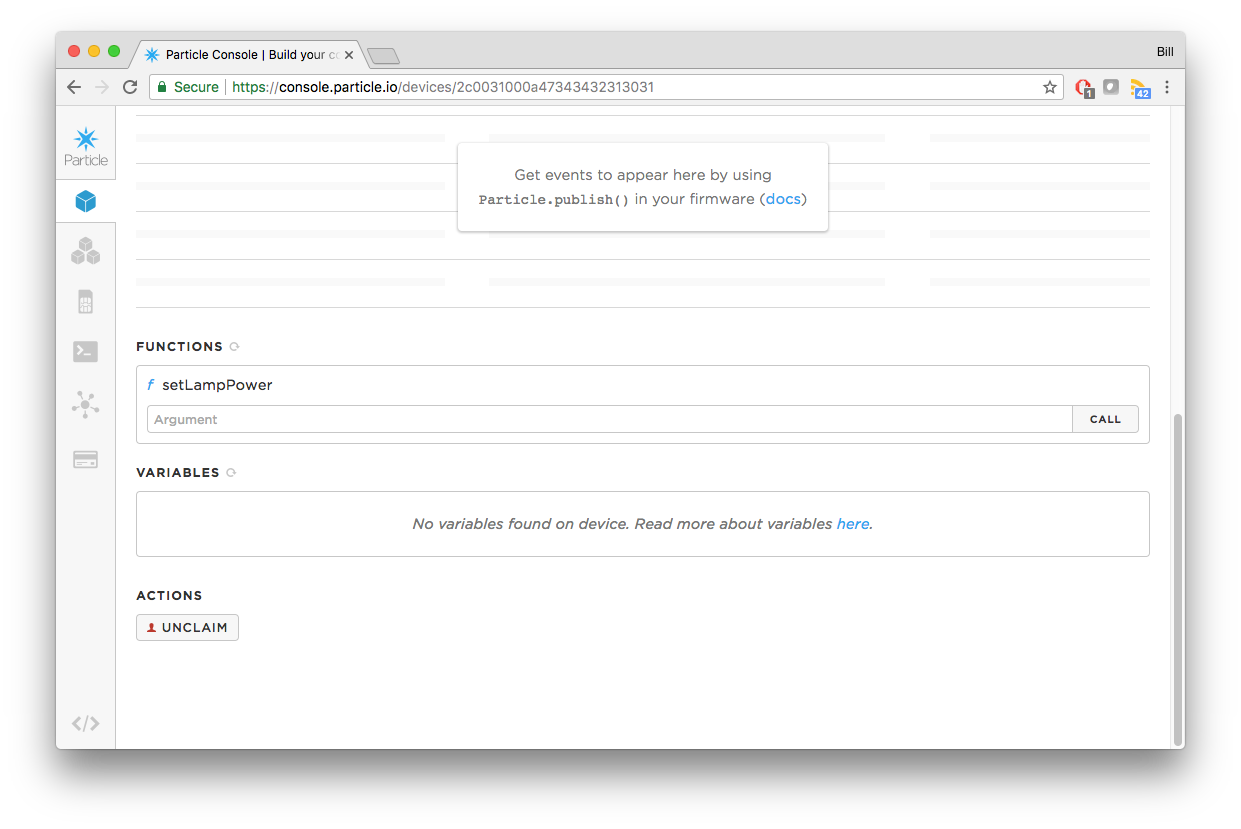
Whoever is the owner of the account on Particle.io for the current Photon should also log into console.particle.io then:
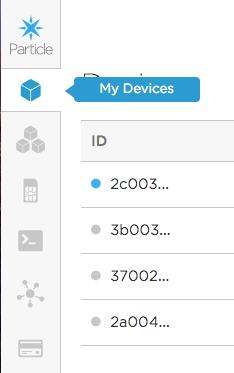
- Click on the
My Devicestab:
- Select the device being used.
- Scroll to the bottom of the page and use the provided area to interact with the function:

2.3. Particle Variables
Review the documentation on Particle’s “Particle Variables” as a group.
Complete README.md Q2
Update your sketch so the boolean variable indicating the lamp’s current power state (off/on) is a Particle variable.
Test your work. Both Particle Dev and Particle’s Cloud console have means to see the value of cloud variables. Verify that you can get the correct variable in several scenarios:
- When the cloud function is used to turn the light on/off, the variable’s value should be correct.
- When the button is used to turn the light on/off, the variable’s value should be correct.
2.4. Polling
Particle’s Variables have some limitations. The most significant is that they require a client to “poll” (See: Polling).
Complete README.md Q3
Complete README.md Q4
2.5 More advanced functions
Create a new cloud-accessible function that can be used to set a new current color. Name it setCurrColor both in your sketch and as the name of the function from the cloud (the console and Call Function panel). The return value can just be 0 (or you can return an int that represents the new, current color).
- Start with a simple version that will just change the internal state of the color variables. Test your work by turning the light off/on to see if the new color is used.
- Passing multiple parameters requires careful use of strings. You may want to review String Class functions for ways to parse and convert values.
- You may want to print values using the Serial Monitor to verify that your conversions are working as expected.
- Update your sketch to:
- Fade to this color if the light is already on.
- It’s important to think carefully about things that may be in the process of changing state. Your may have to cancel a fade that’s already in progress by interacting with it’s timers and using whatever color is currently shown on the LED as the start color for a new fade.
- Merely instantly change the internal color value if the light is off (rather than fading).
- Fade to this color if the light is already on.
3. In-Class Checkout
Commit your work to GitHub:
- The Spokesperson should complete changes, save them, commit them locally, then push to GitHub using GitHub desktop.
- The Recorder should save any changes, commit them locally, use GitHub desktop to Pull and merge any changes to the repo, and finally Commit/Push the additions back to GitHub.
- The Technician should save any changes, commit them locally, use GitHub desktop to Pull and merge any changes to the repo, and finally Commit/Push the additions back to GitHub.
- Verify your commits from the Recorder, Spokesperson, and Technician are on GitHub.
- Show a TA your progress
4. Post-Class Checkout
Complete any unfinished work and commit it to your repo by 11:59pm Sunday, Oct. 21st.