Difference between revisions of "FTP With Filezilla"
Jump to navigation
Jump to search
m (Ethanshry moved page Using FTP With Filezilla to FTP With Filezilla: Fall 2018 Wiki Reworks) |
|||
| (3 intermediate revisions by 2 users not shown) | |||
| Line 23: | Line 23: | ||
# A prompt will appear on Filezilla asking if you would like this file to be uploaded to the server. Click Yes (see Figure 5) | # A prompt will appear on Filezilla asking if you would like this file to be uploaded to the server. Click Yes (see Figure 5) | ||
| − | + | [[File:Makefile.jpg|thumb|left|Figure 4]] | |
| + | [[File:Y.jpg|thumb|left|Figure 5]] | ||
[[Category:HowTos]] | [[Category:HowTos]] | ||
| + | [[Category:Misc]] | ||
Latest revision as of 22:16, 18 August 2018
Contents
Securi-Door
Description
In order for the hosting platform to show our files, we must use FTP (File Transfer Protocol) to send website scripts to the server. For the Securi-Door project, we used Web.com for hosting and Filezilla as the FTP software. Once you have a cloud server up and running, the next step is to send files to be displayed on the server. This tutorial shows how to setup and use FTP to send files to the server.
Download Filezilla
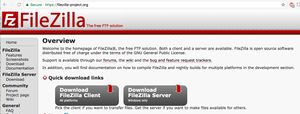
- First navigate to https://filezilla-project.org/ and download the Filezilla client software (see Figure 1)
- Follow the directions on the installer and open Filezilla
Connect to server
- Locate your server name, username and password for your cloud server
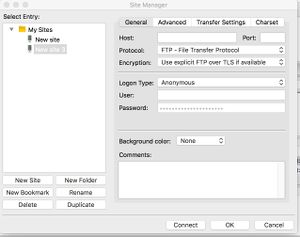
- In Filezilla, click on the Site Manager tab (see Figure 2)
- In the Site Manager, type in your server address, username, and password and click Connect (see Figure 3)
Add a file to the server
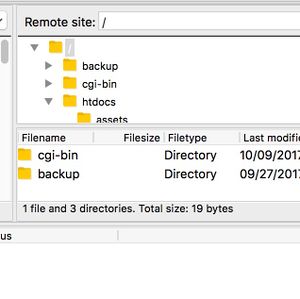
- Navigate to your root folder (or whatever folder you choose) in the Remote Site box and right click (see Figure 4)
- Click "create new file"
- Once you have created your file using your desired text editor, save it locally and navigate back to Filezilla
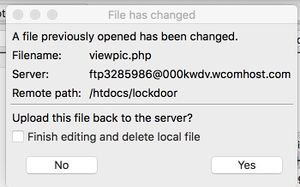
- A prompt will appear on Filezilla asking if you would like this file to be uploaded to the server. Click Yes (see Figure 5)


