Misc : Software Installation and Setup
Objective
This page will walk you through installing the software that you will need for the course. We’ll do the following:
- Install software we’ll be using for the class.
- Create an account on GitHub, which is a cloud service we use to distribute and collect your work. That account, or one you already have, must be tied to your WUSTL email address.
- “Accept” a repository for “Exercises.” You will use this repository throughout the semester.
- Add the assignment to Eclipse, which is the IDE we use for this course.
- Use Eclipse, which you installed in the first step, on the code in the repository, which you got in the third and fourth steps.
1. Installing Software
We will be using a language called Java to create and run code on our computers. Before you can execute Java code, you need to install two pieces of software:
- The Java Development Kit (JDK). The JDK includes a whole bunch of Java tools that are used to assist in the creation and execution of Java programs. Visit the link above to download the JDK and install it on your computer.
- Professional software developers use an Integrated Development Environment (IDE). As the name describes, it’s used to develop computer programs and it integrates several different useful features:
- It includes a smart editor that helps you create and work with computer code.
- It can work with other programs called compilers. Compilers translate the program you write into something the computer can run. The JDK that you installed included a compiler.
- Other handy features, like support for debugging assistance. We’ll be using Eclipse, a popular IDE that supports programming in Java.
Below is a video authored by Prof. Bill Siever that takes you through the two steps. The links you need to accomplish those steps are as follows:
- The Java Development Kit (JDK) (do this first)
- Eclipse.
2. Create a GitHub Account
We will be using software called Git for “version control”. Version control systems (VCS) are a way of life in the modern software-development industry. They track how team members have changed a project, and they are particularly useful for collaborative projects, where multiple developers work concurrently on the same body of code. Below is a video explaining the concept:
We use the site GitHub to distribute and collect course work. GitHub is a place that hosts git repositories. You need to create a (free) account. Please visit GitHub and sign up for an account. Please use your WUSTL email address, although you can add multiple e-mail addresses. If you already have an account, please be sure to add your WUSTL email. These directions describe how to add additional email addresses.
3. Accepting the exercises
For each major type of course work you will need to generate a repository on GitHub. You’ll do so by clicking on a link and “accepting” an assignment. Click  HERE to accept the repository containing the course exercises and follow along with the instructions below.
-
Carefully scroll through the list of names and select only your name!

- You only need to do this one time this semester. After doing so, your GitHub account is associated with your name (for this course).
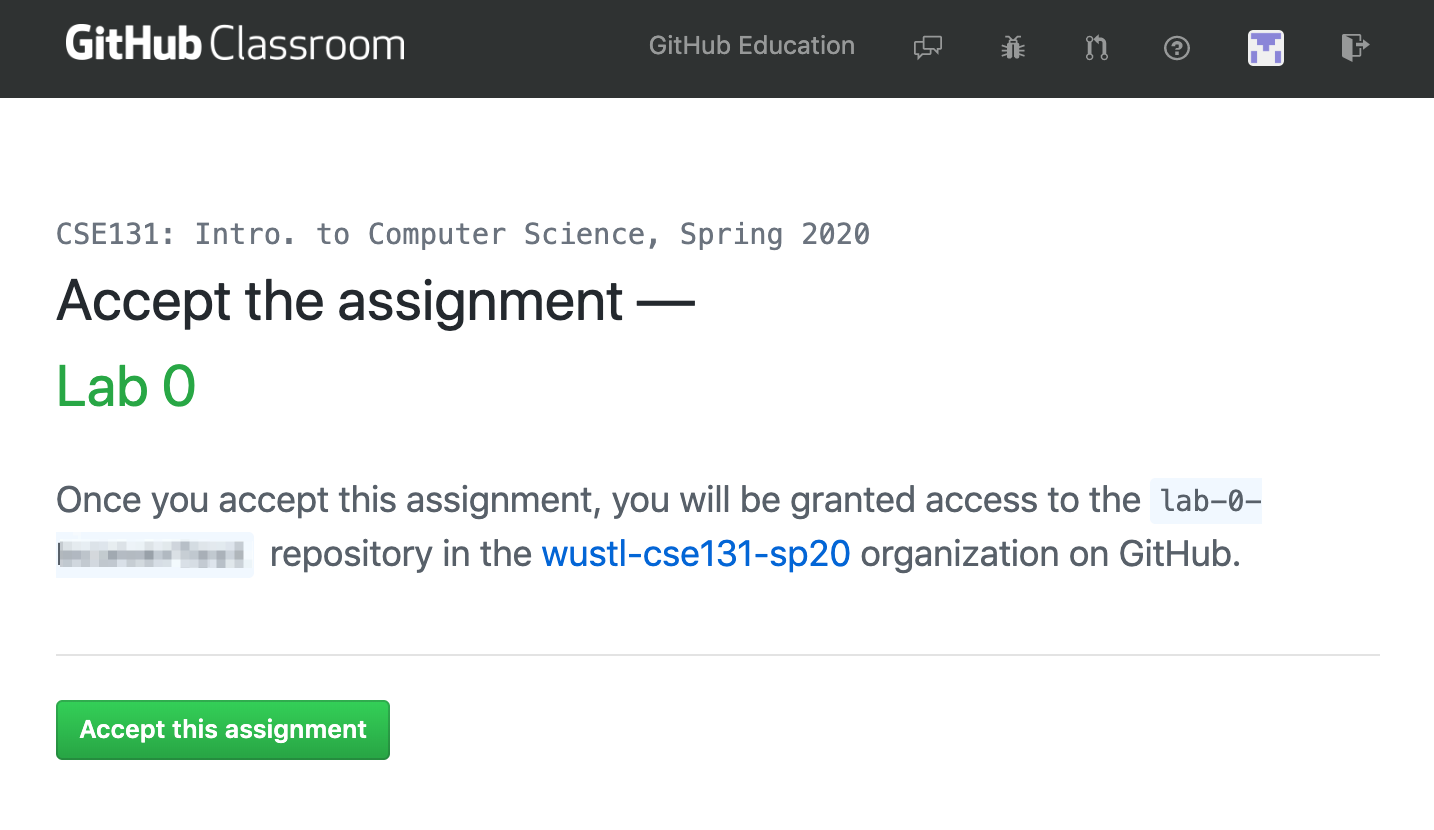
- Select the button to accept the exercises:
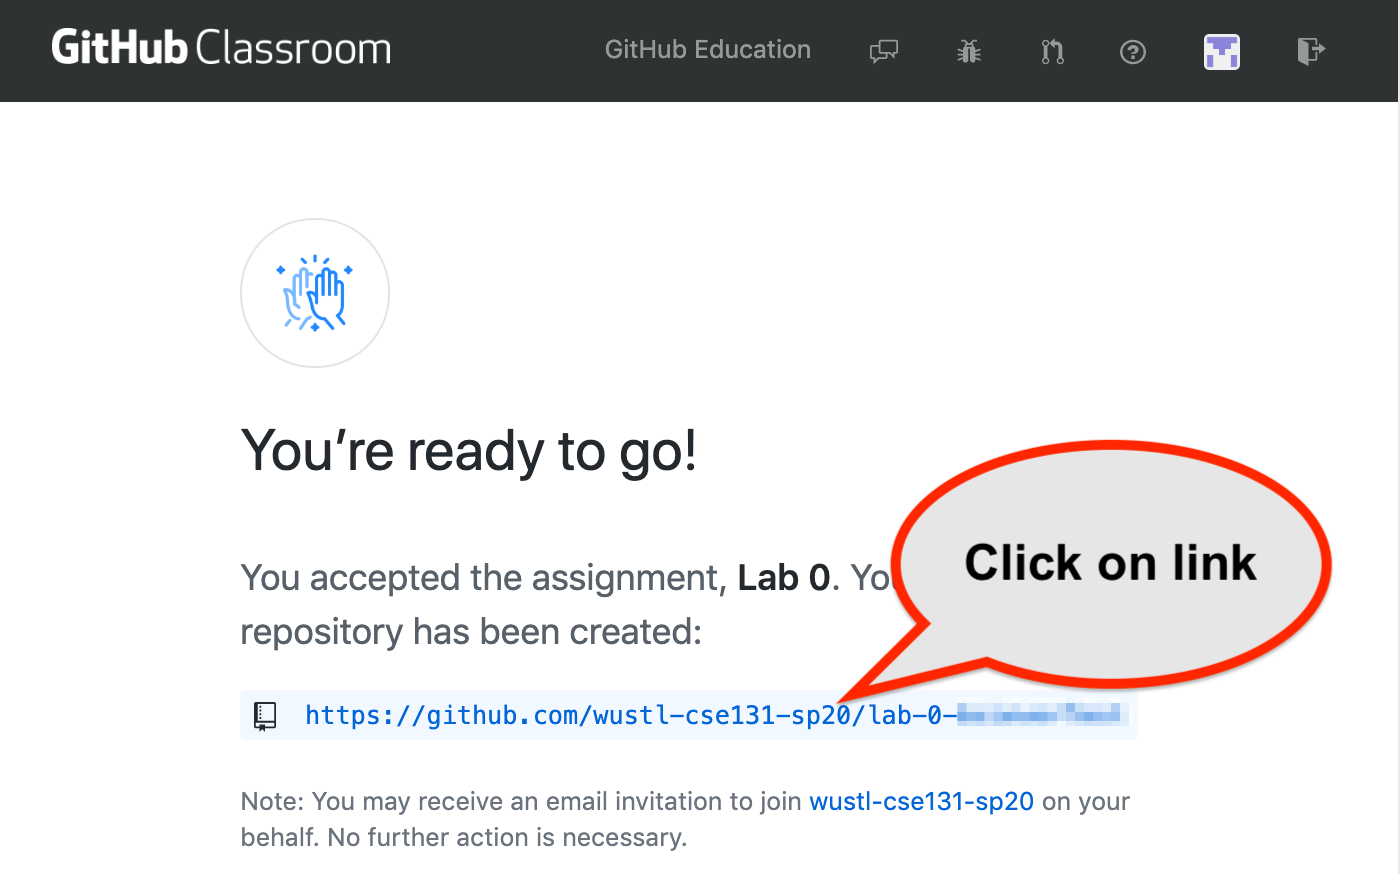
- After accepting the exercises, a copy of the exercise materials, called a repository, will be made for you. Click on the link to view the repository:
- Finally, 1) click on
Clone or Downloadand then 2) click the “Copy to Clipboard” button to make a copy of the URI shown.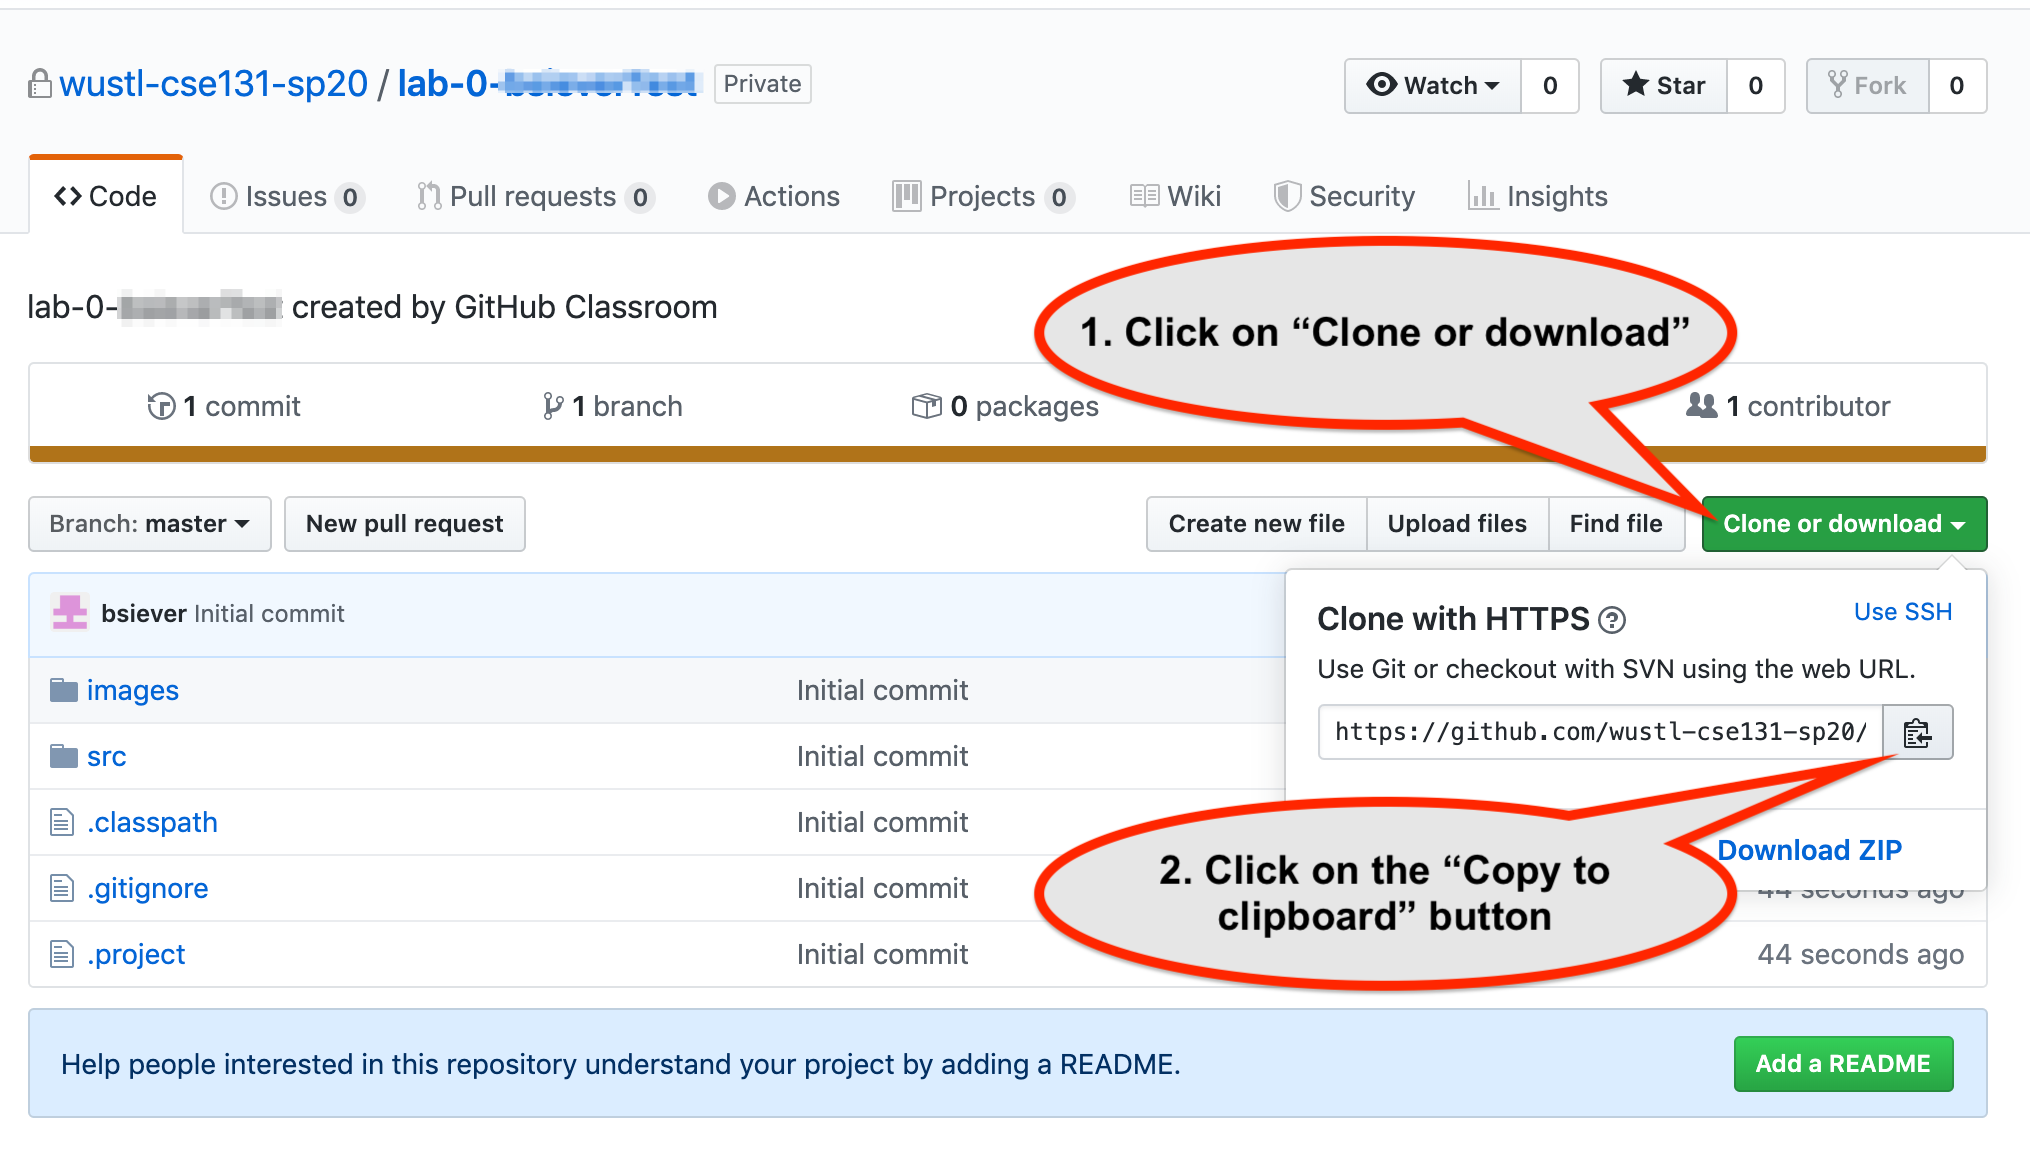
You’ve now created an exercises repository and have the URI. You’ll need to do steps 2-4 many times this semester.
4. Add the exercises to Eclipse
- Open or go to Eclipse.
- Go to the
Filemenu and selectImport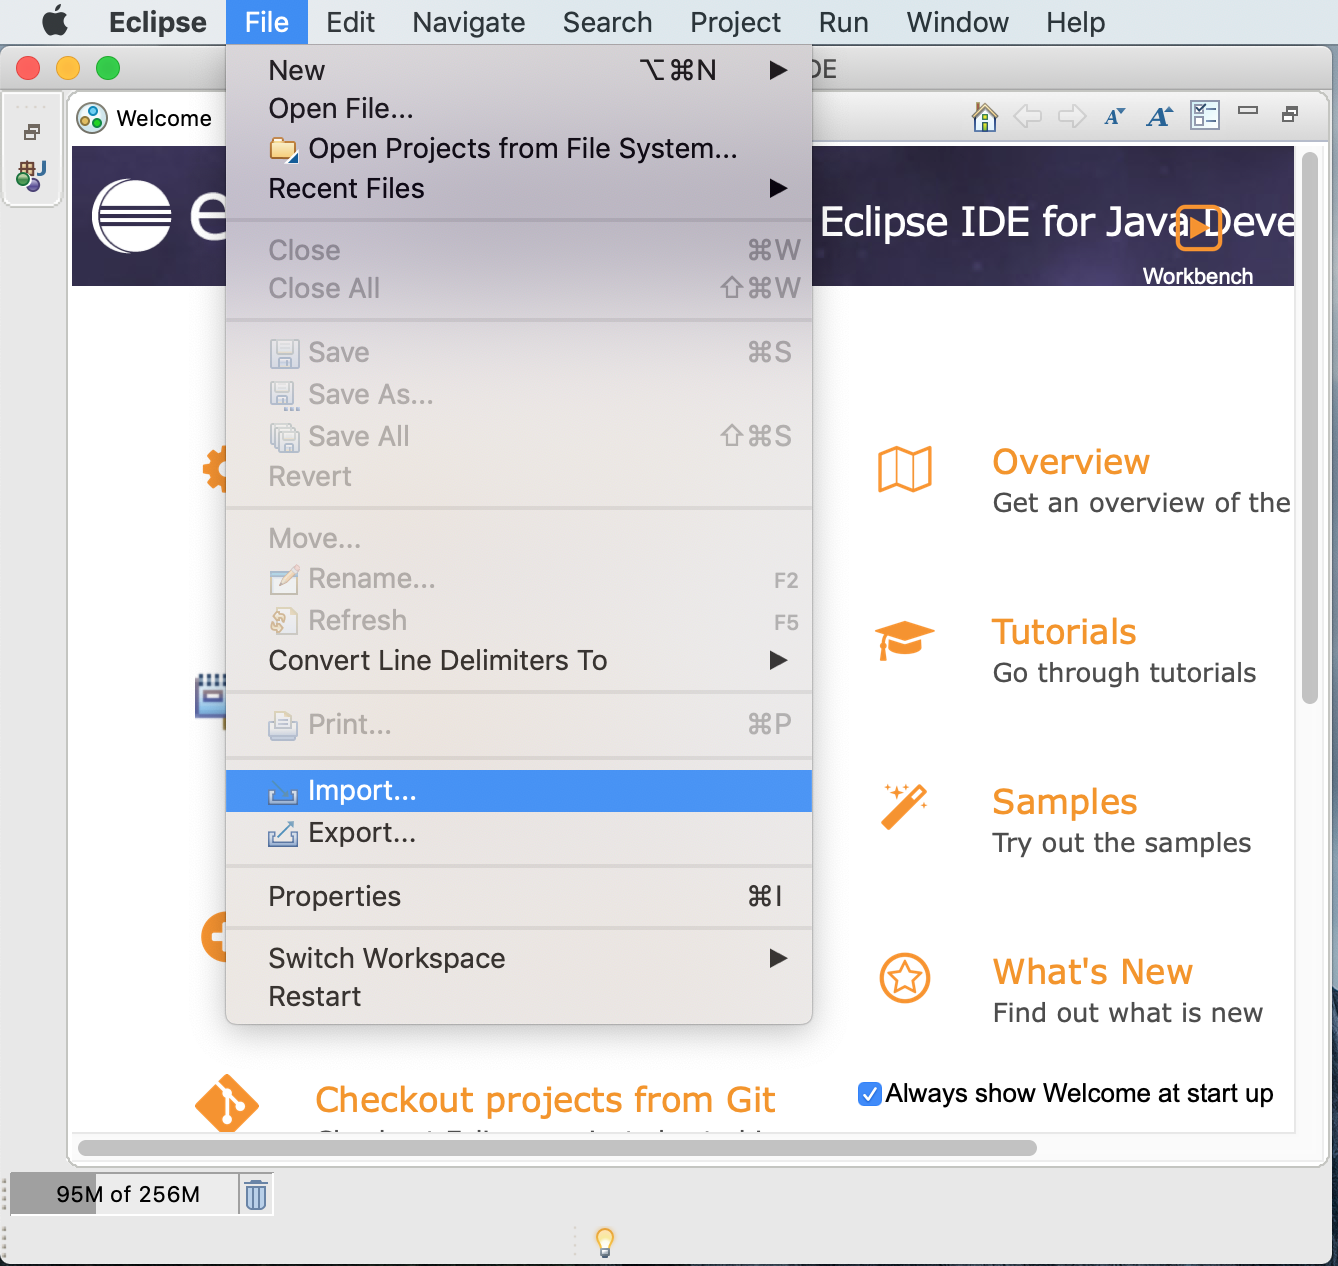
- Expand the
Gitoptions and selectProjects from Git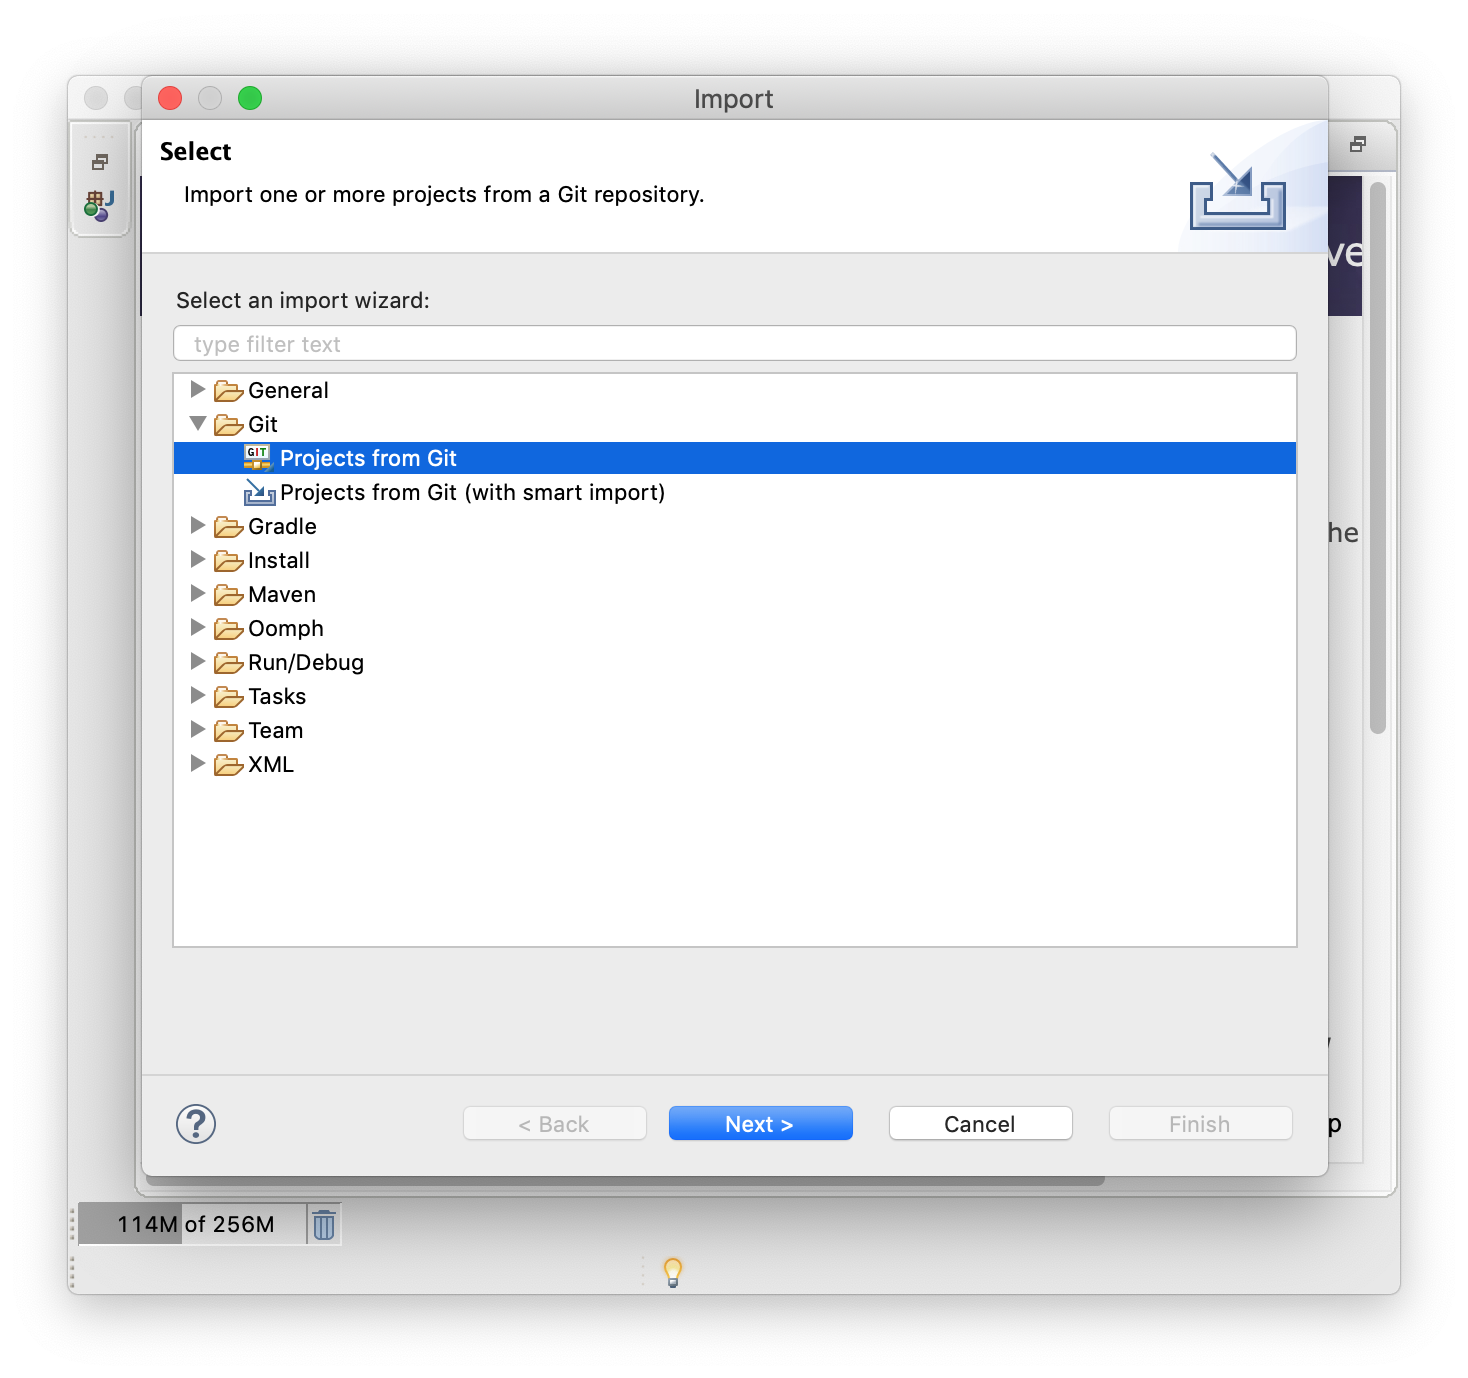
- Select
Clone URIand then hitNext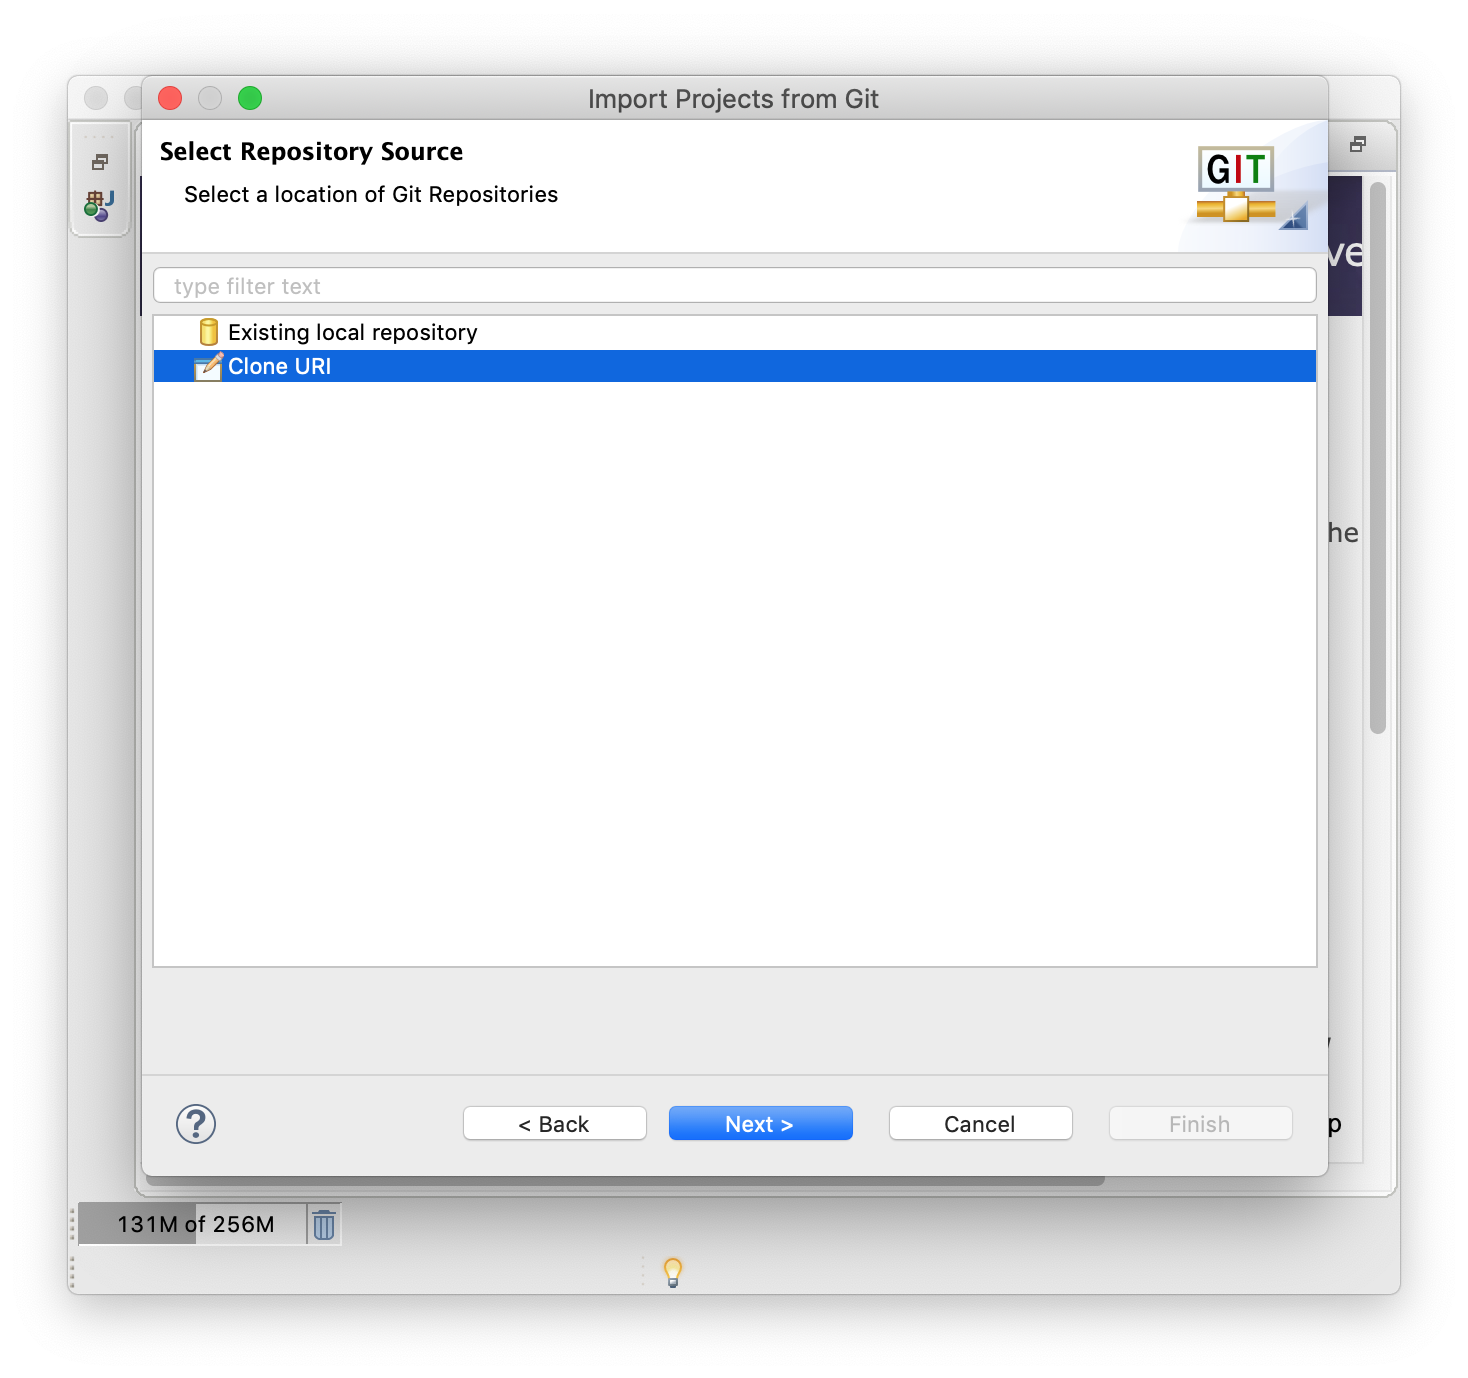
- The URI you copied when you created the assignment should automatically be used (if not, go back to GitHub, copy the full URI for cloning the repository, and paste it in here). Hit
Next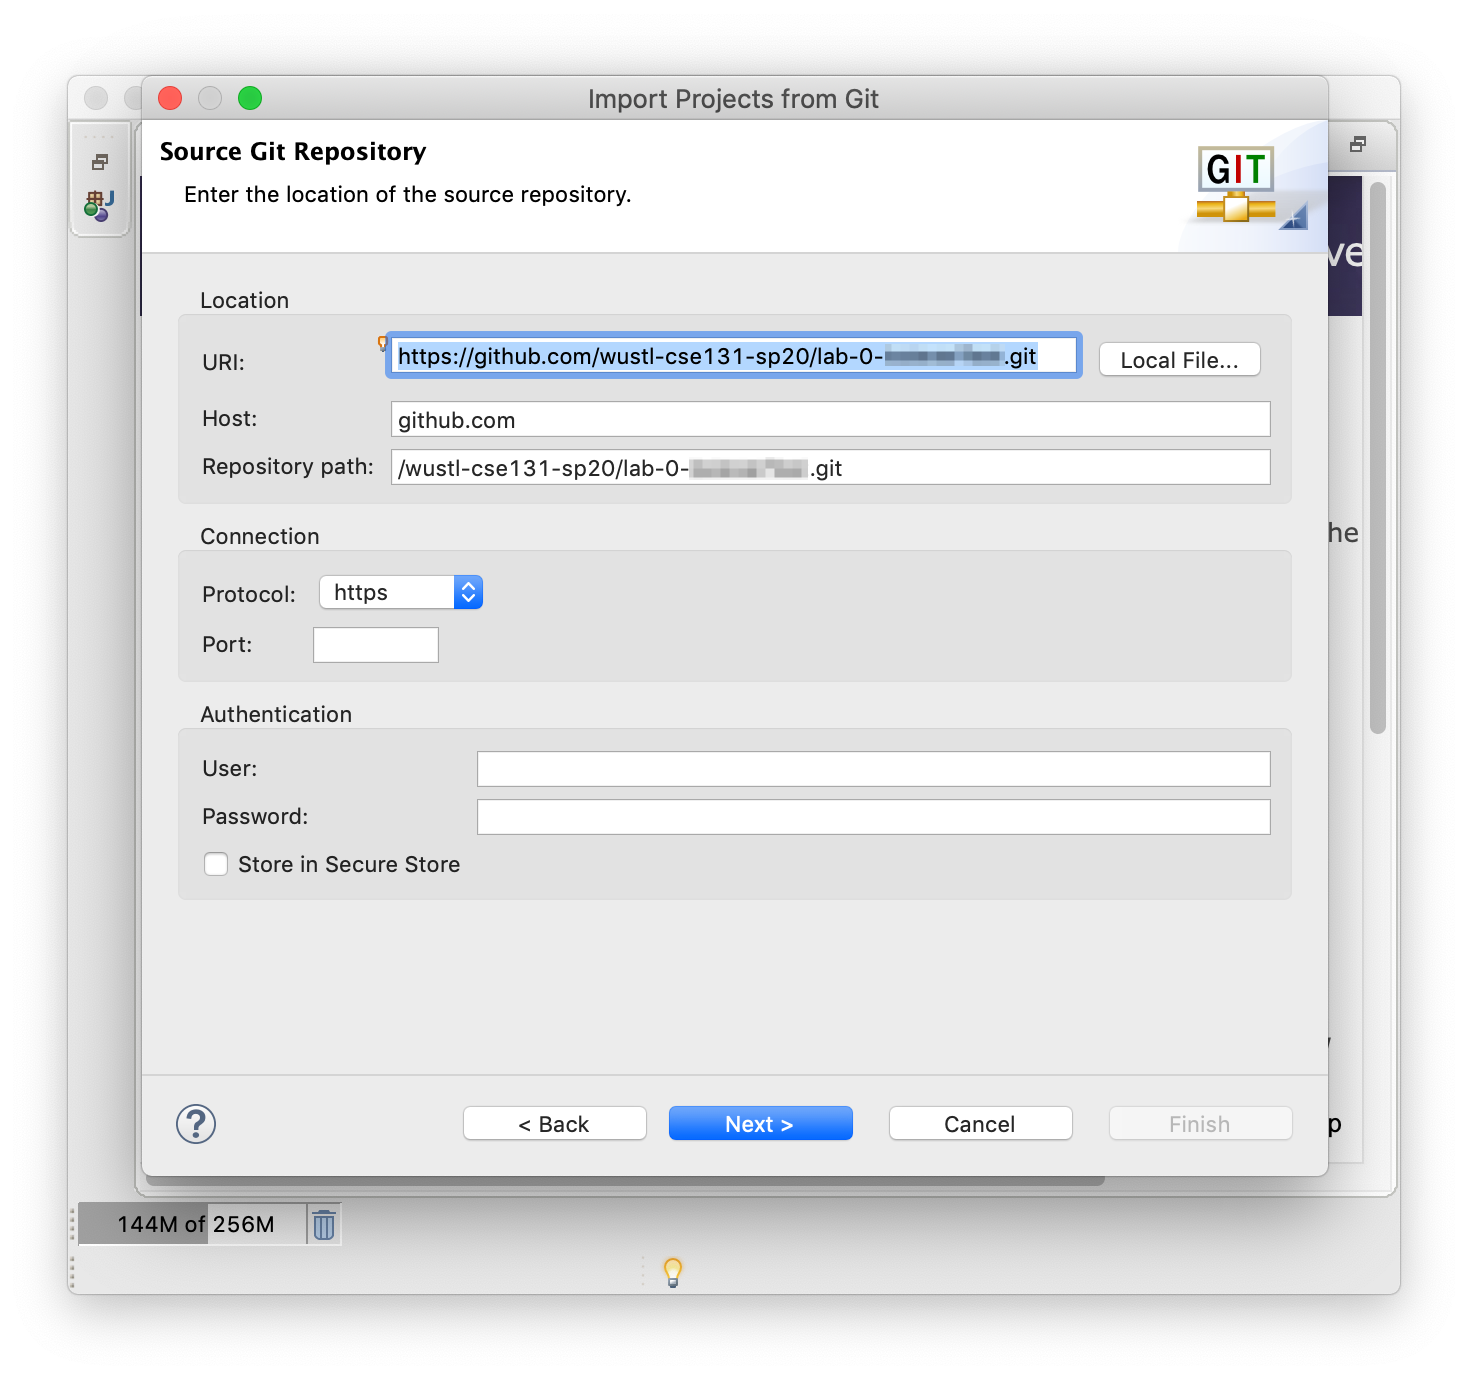
- Before you enter your username and password, you need to create a personal access token. To do this, click here to be taken back to the GitHub page for creating tokens.
- For the note, enter what this token will be used for

- Make sure the expiration is set to “never”.

- Select the
repocheckbox. The other checkboxes can be left unchecked
- Click the
Generate tokenbutton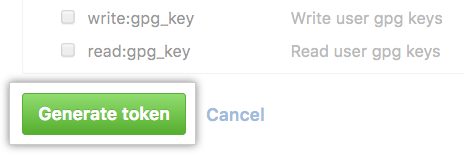
- Returning to Eclipse, enter your GitHub username and the token you just generated as the password. Do not use your GitHub password. (You should select
Store in Secure Storeso that you don’t have to re-enter your password every time you accept an assignment). SelectLog inwhen ready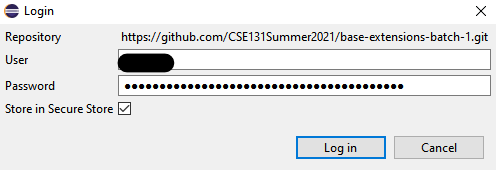
- Select
Nexton the Branch Selection window.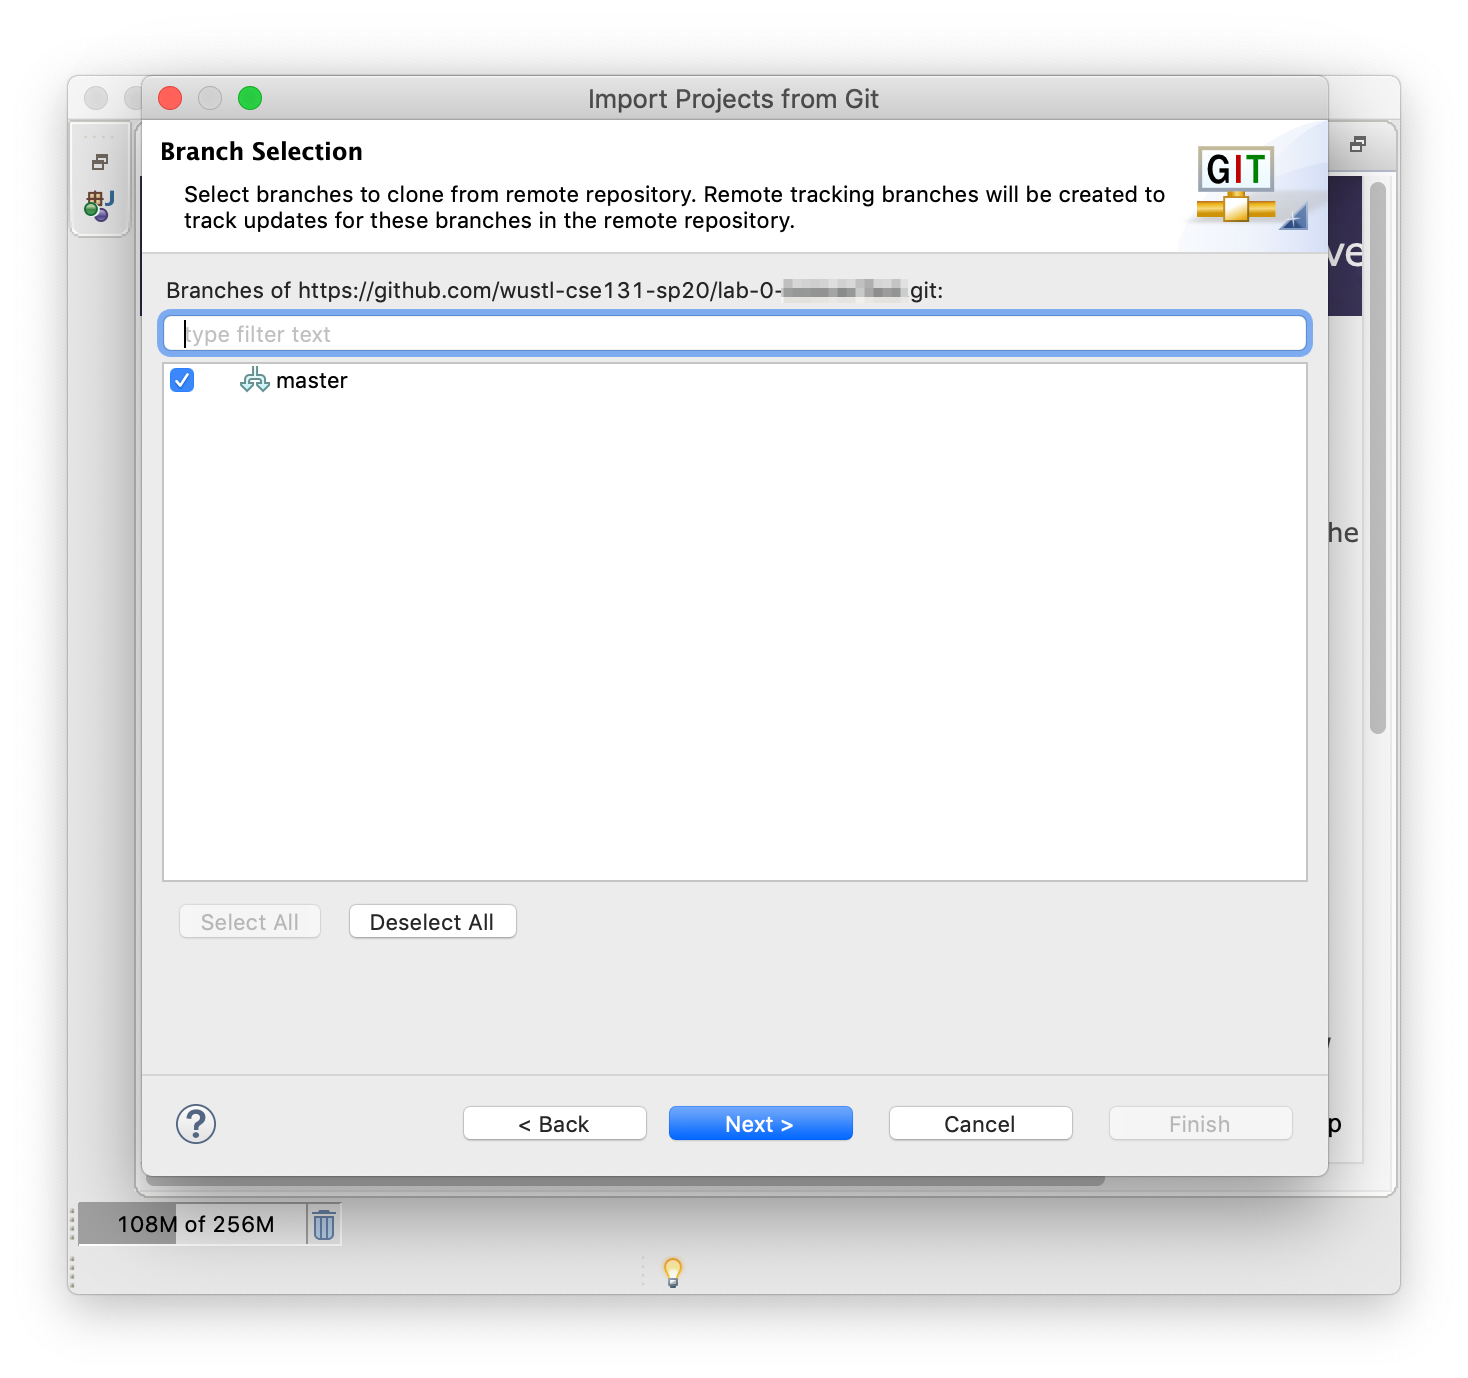
- Select
Nexton the Local Destination window.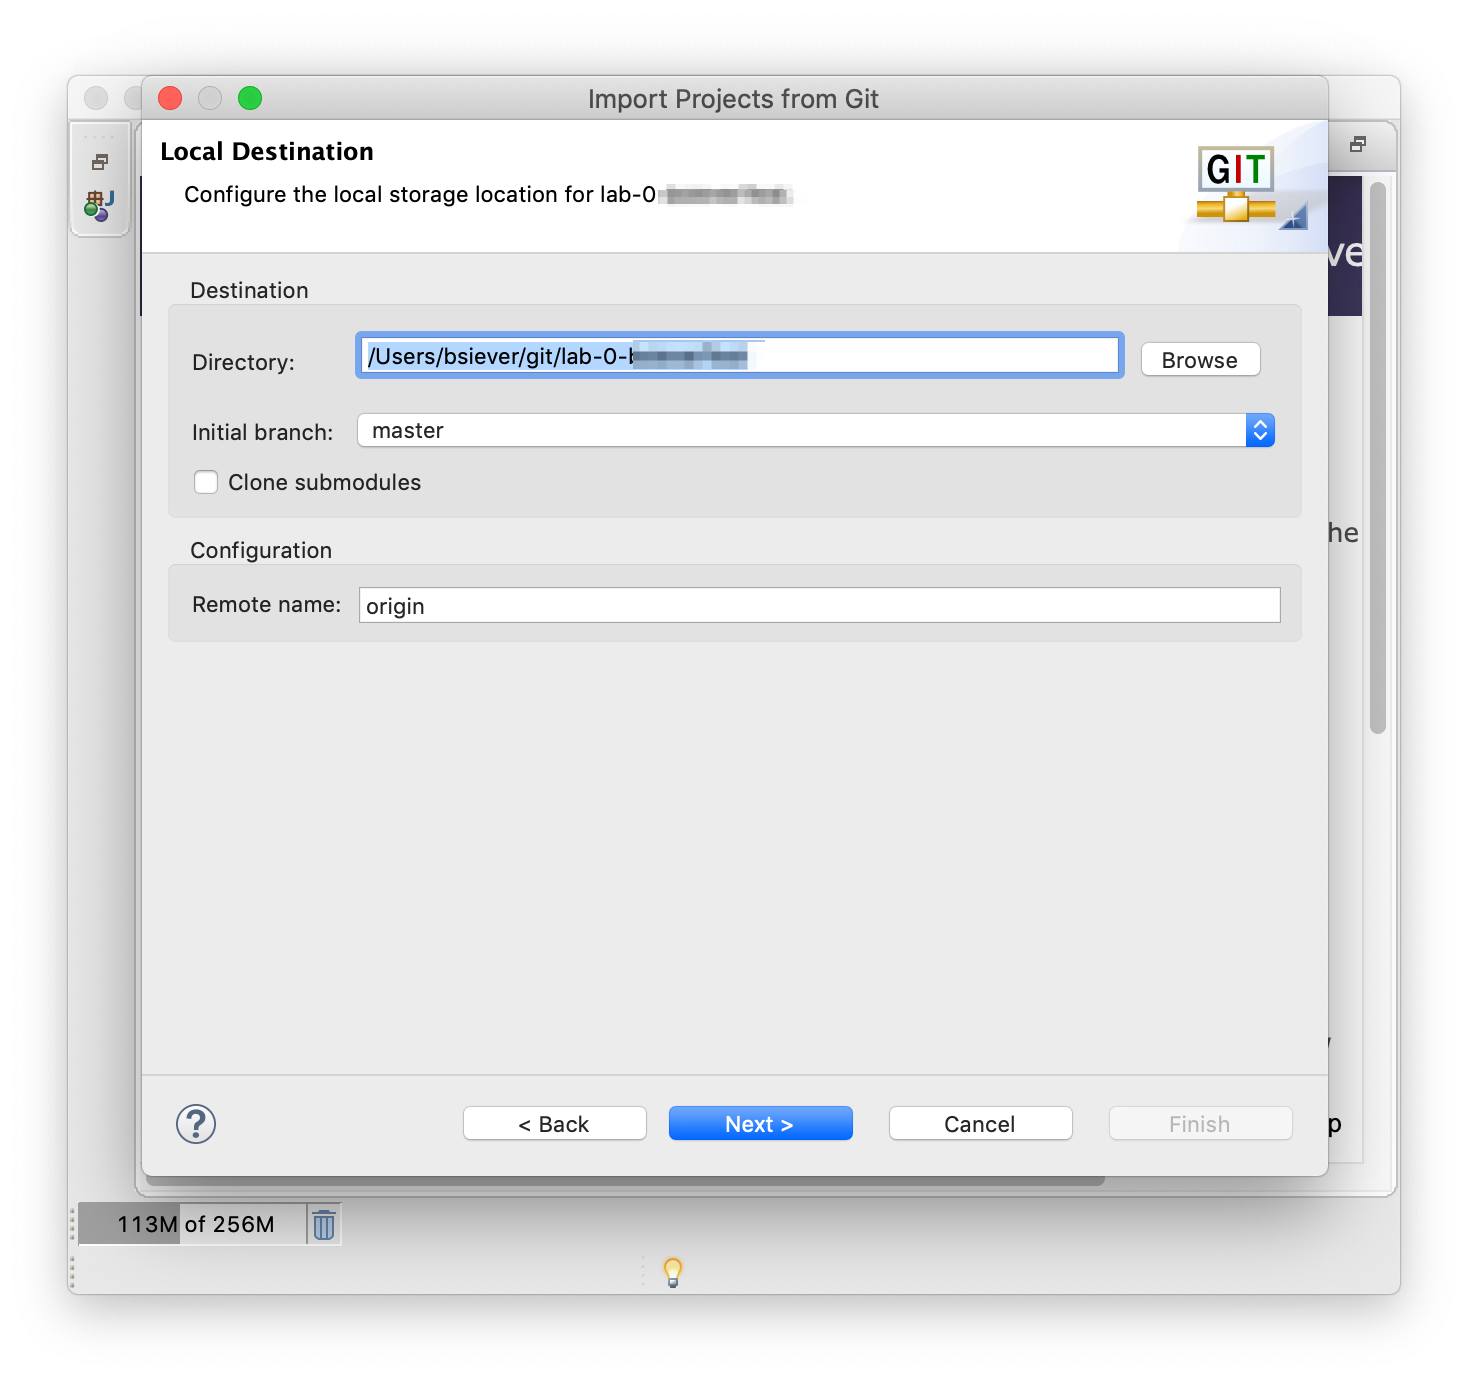
- Select
Import existing Eclipse Projectand selectNexton the Project Wizard.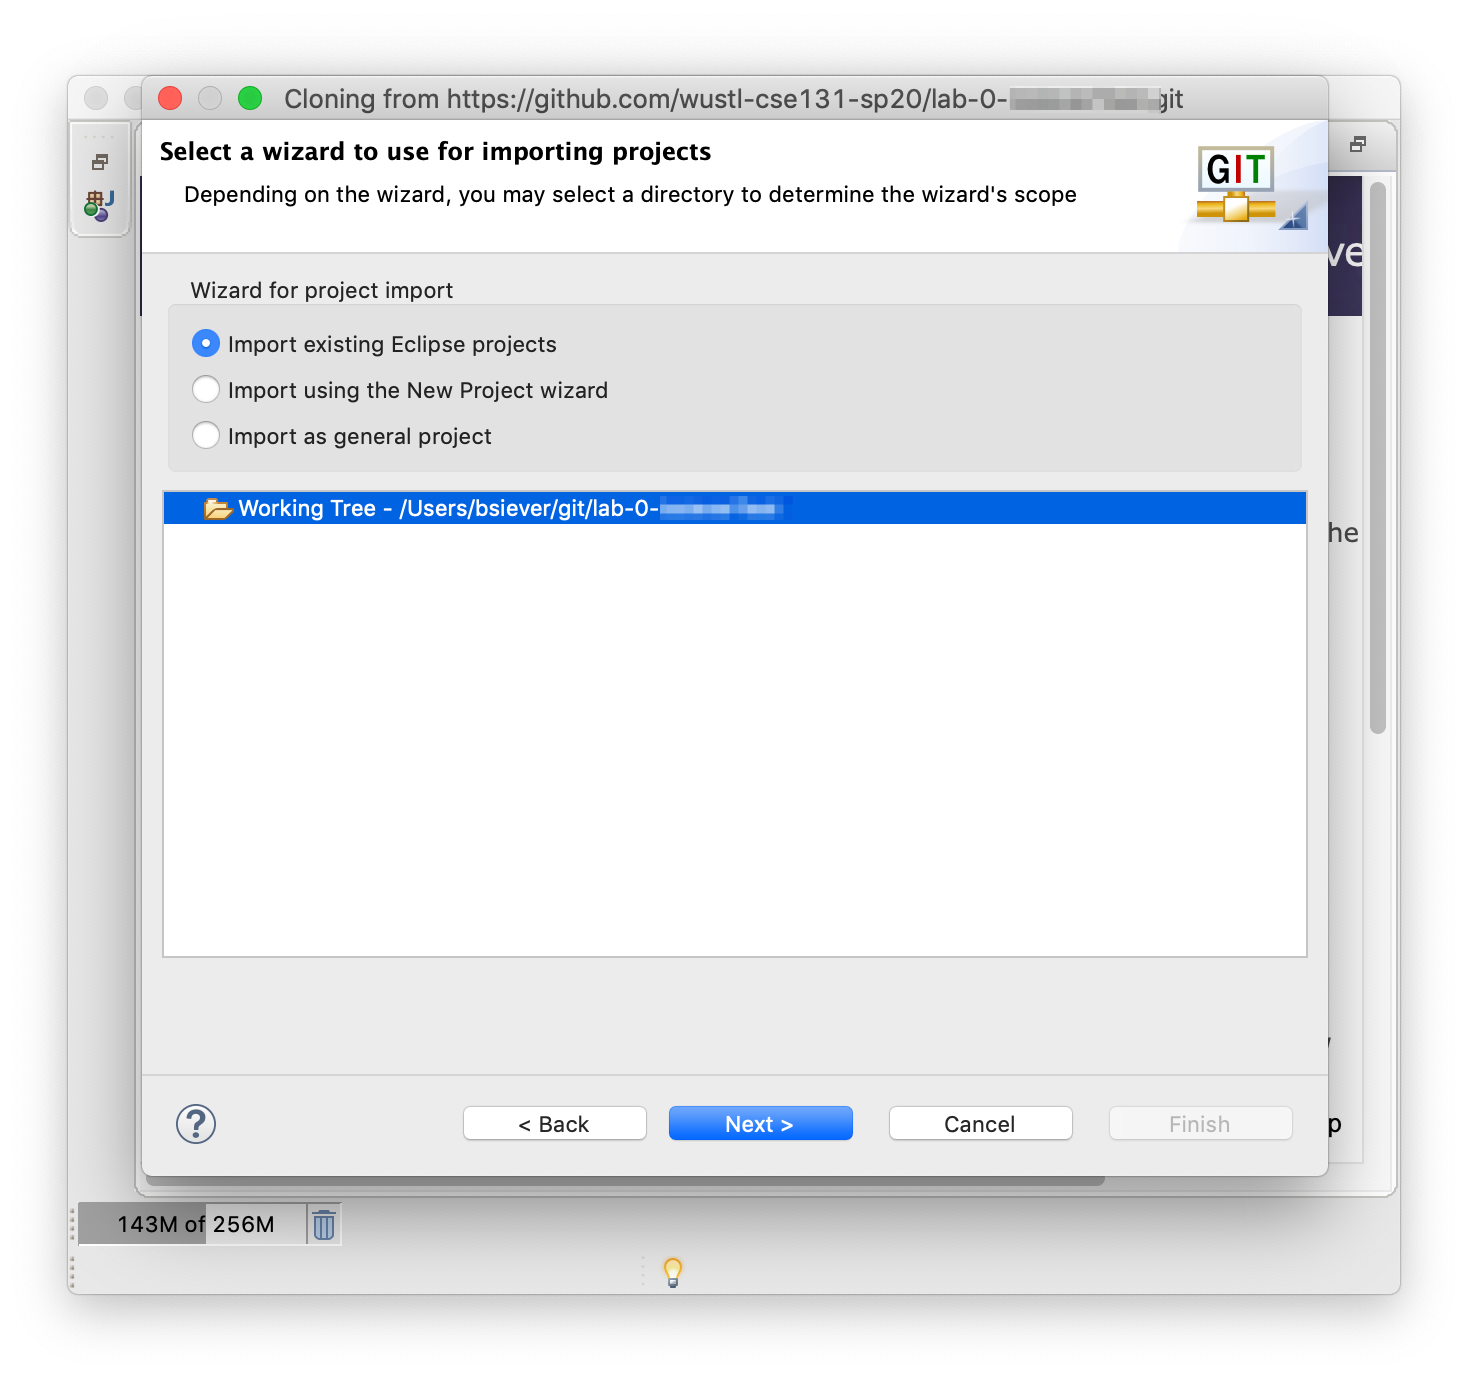
- Select
Finish.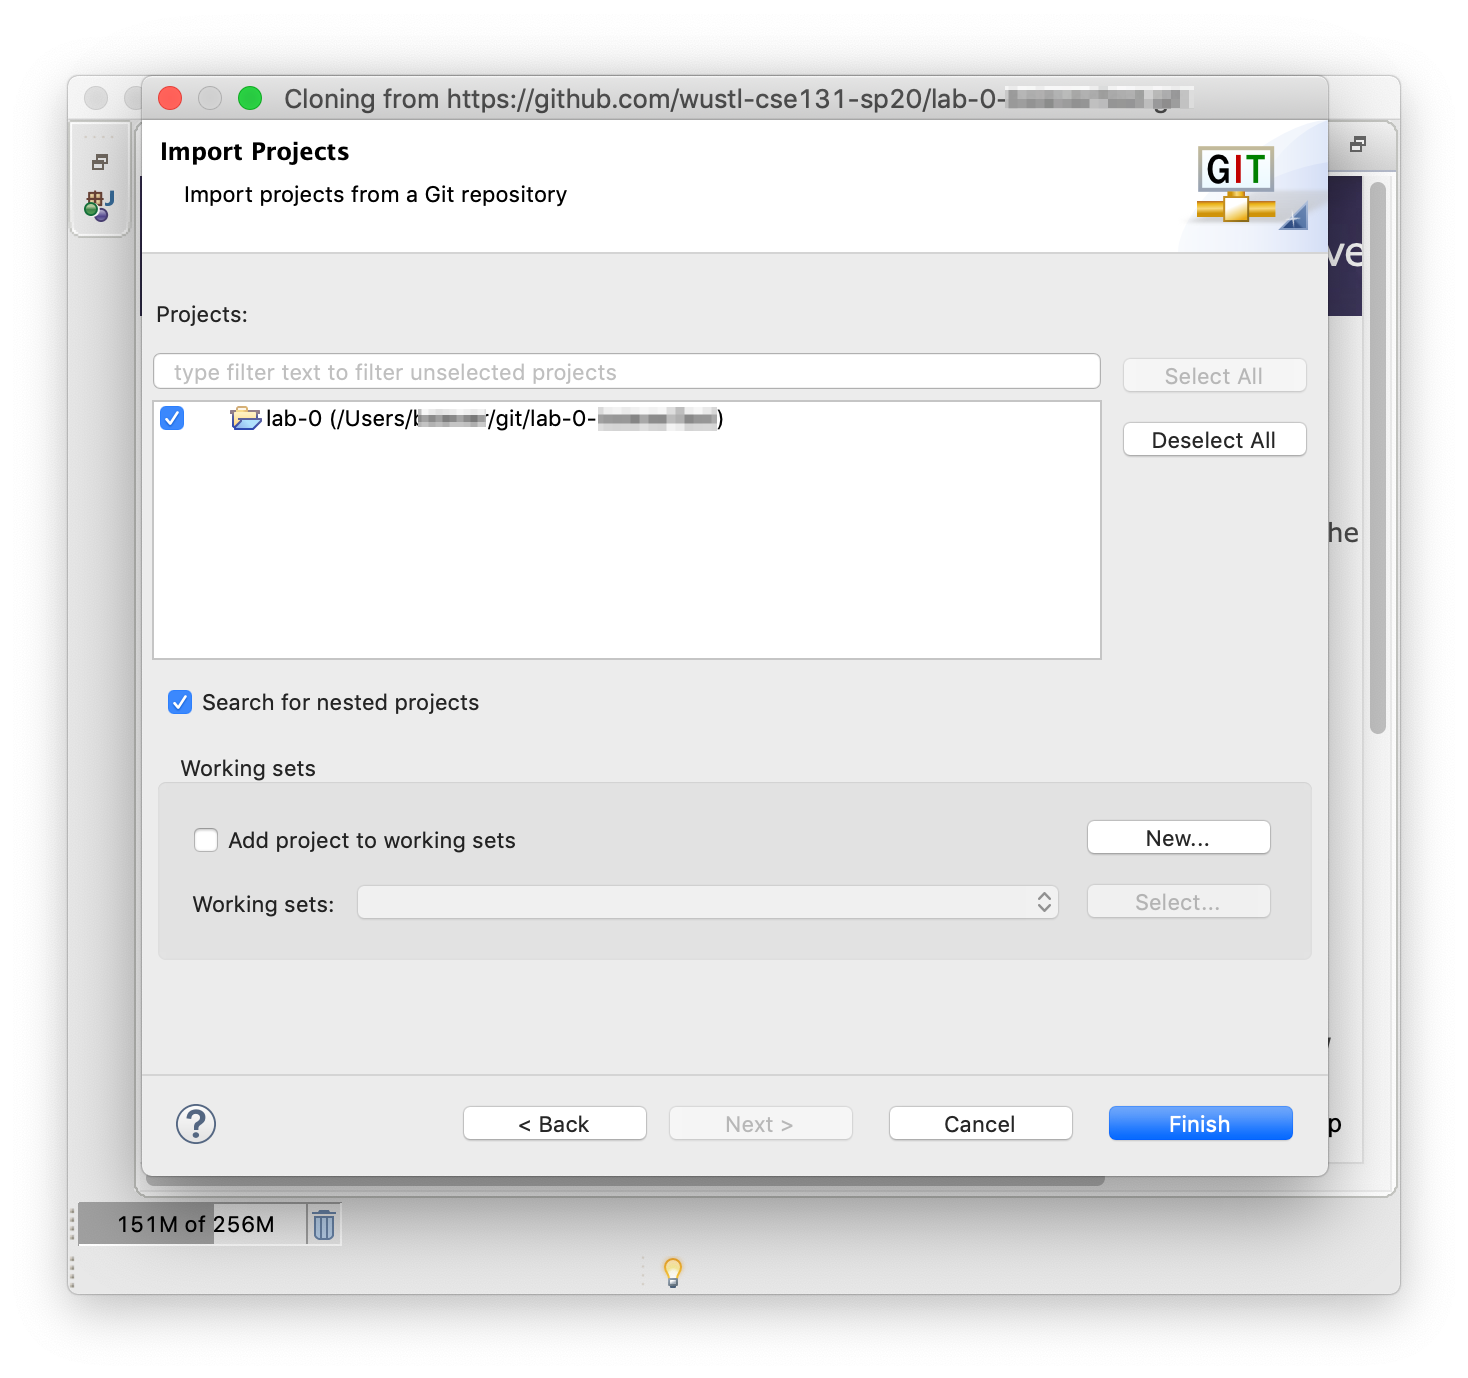
5. Using Eclipse on the exercises
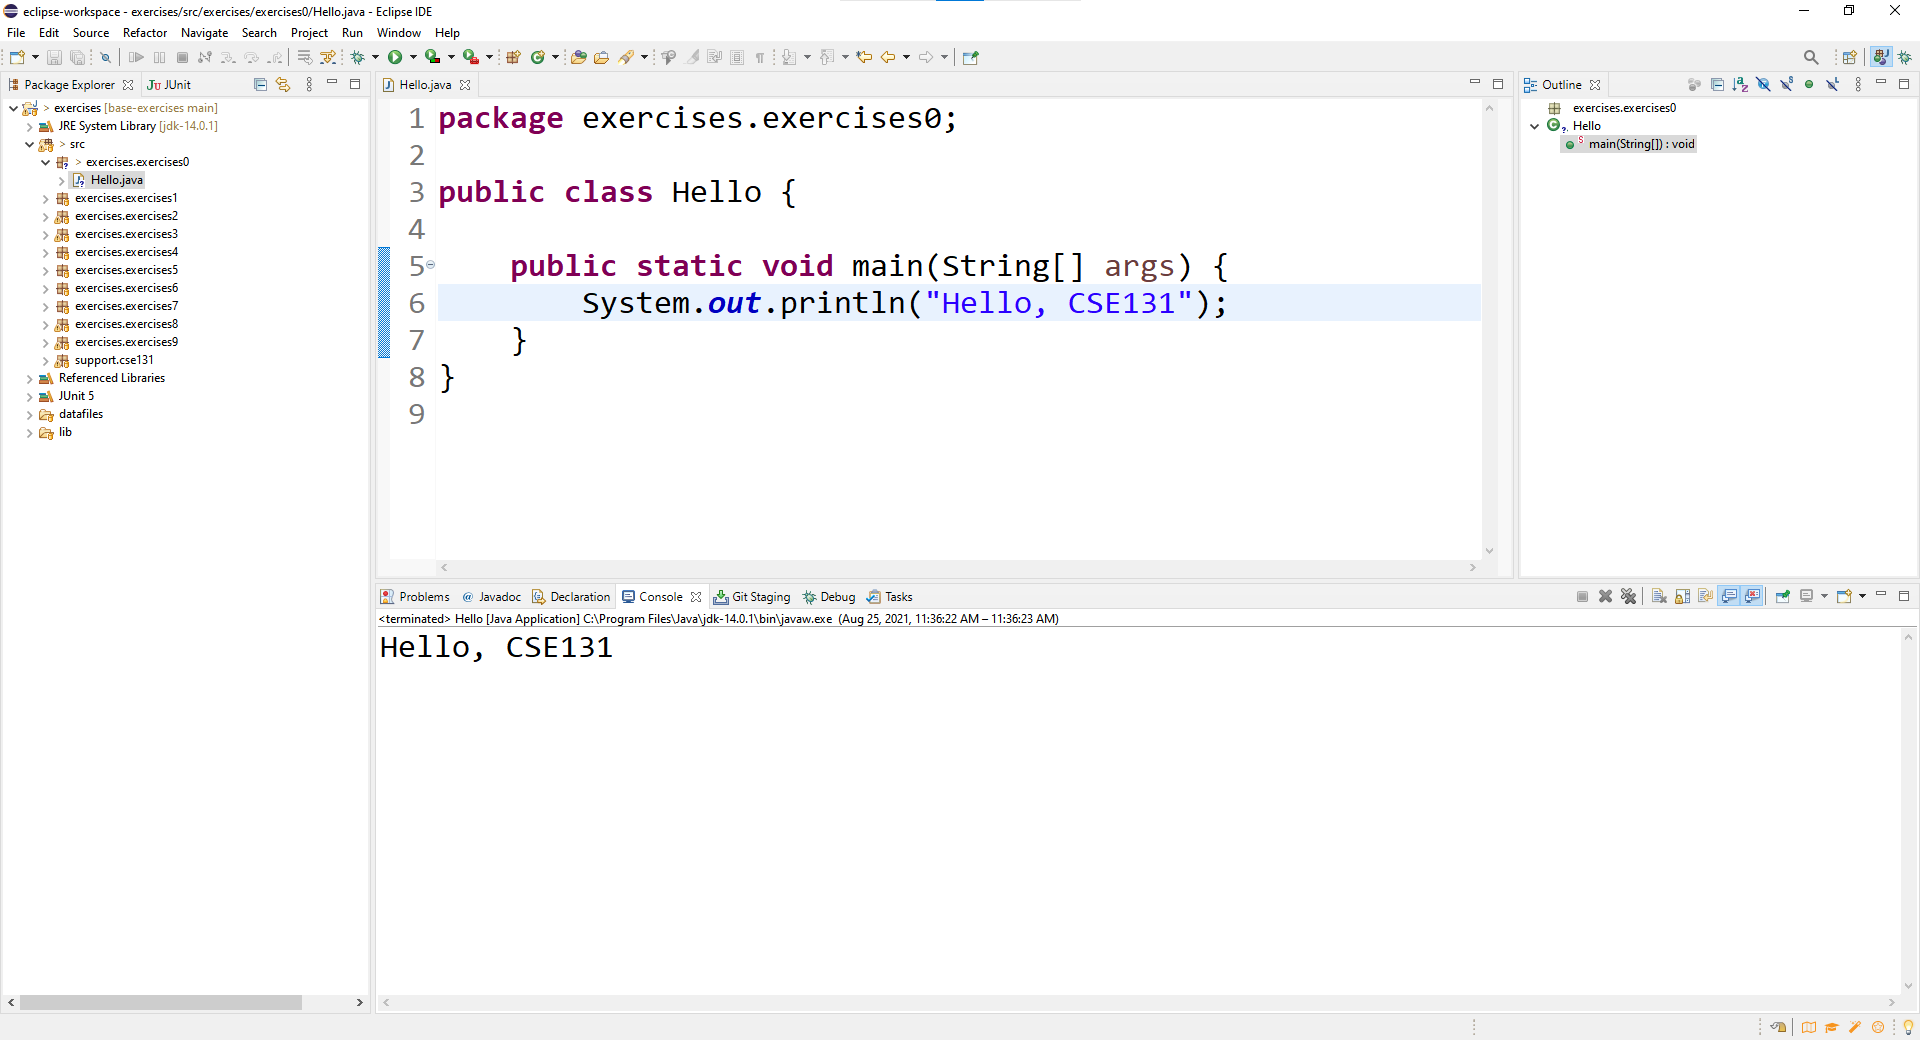
To verify that your installation worked correctly, use eclipse to complete the following steps and run a simple program:
- Expand the
exercisesfolder. - Expand the
srcfolder. -
Expand the
exercises.exercises0folder and double click on theHello.javafile. It should look something like this: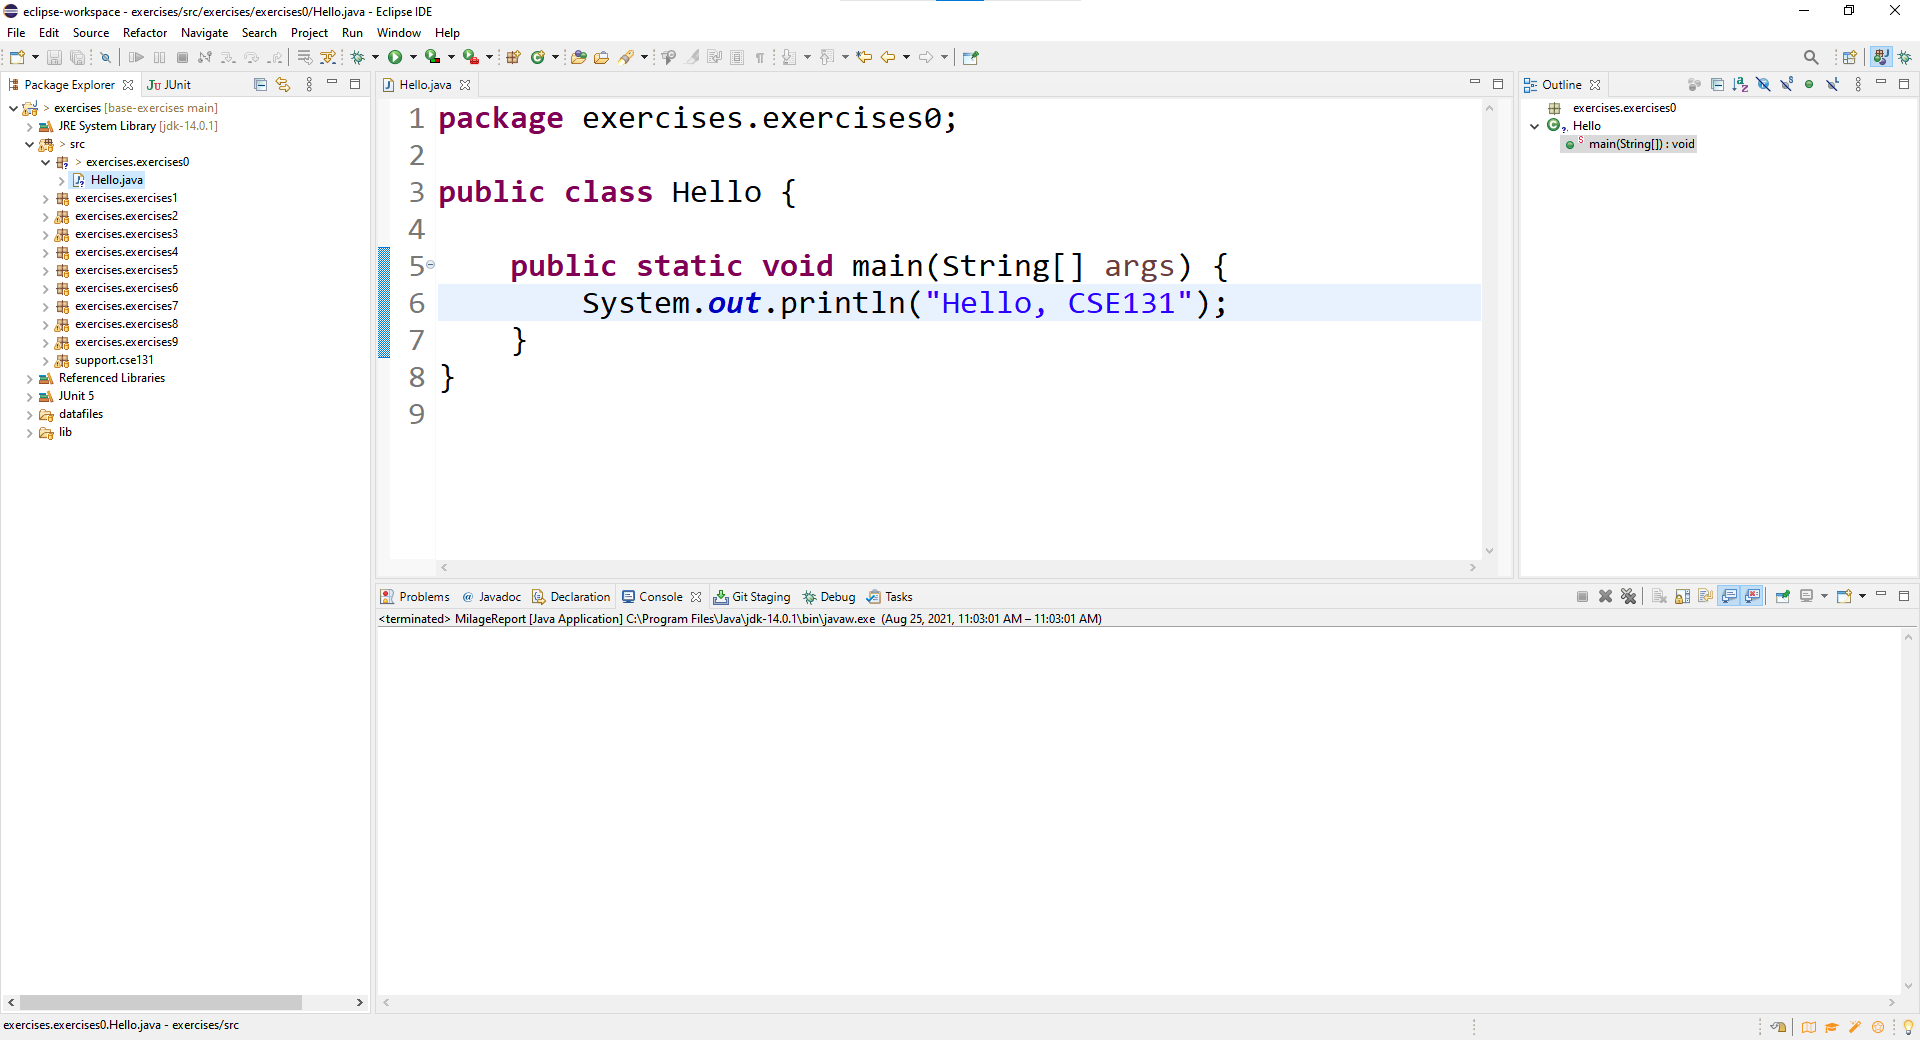
- Run the file by right-clicking on it, selecting
Run As, and then selectingJava Application, like: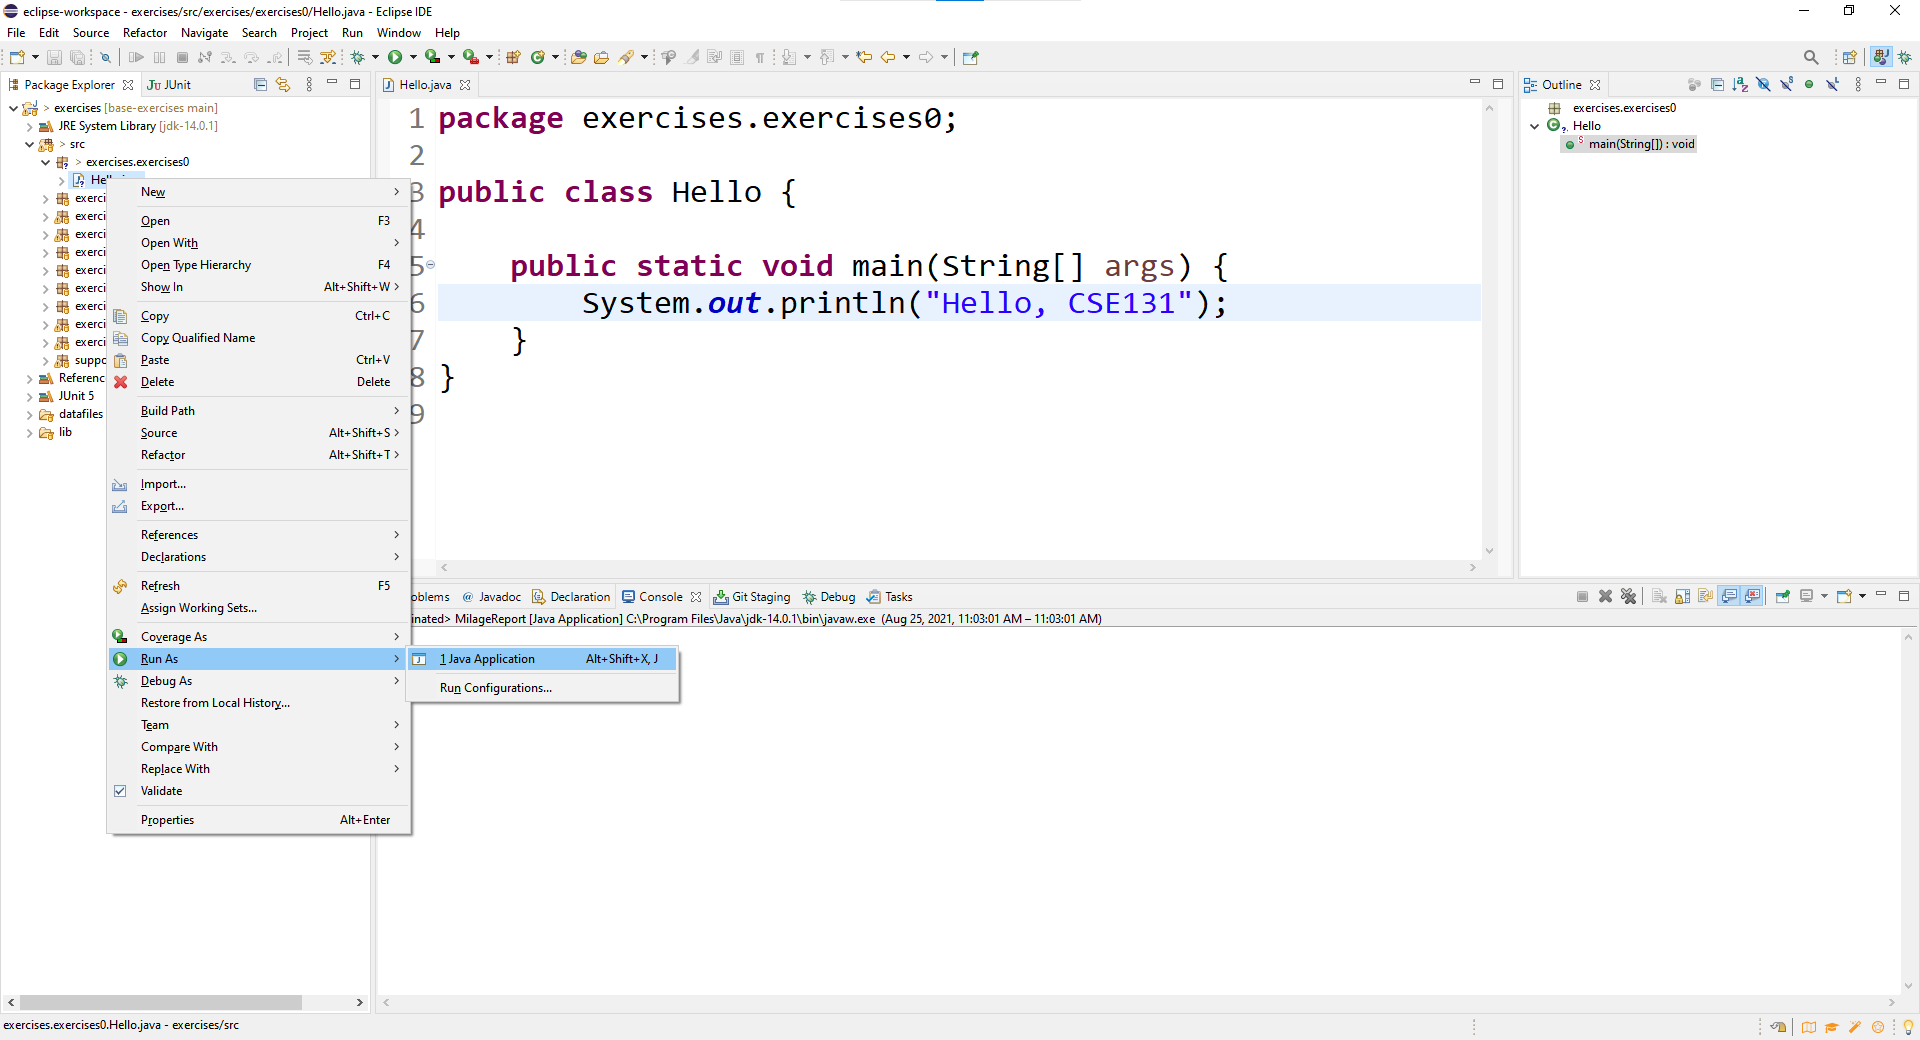
- Once the program has finished running you should see a simple welcome message at the bottom of the window, this indicates that the installation was successful!
